After Effects tips… Creating a hand drawn signature
Have you have ever wanted to create type that looks like it’s being hand-drawn in front of you? Something like this…
Here’s a simple After Effects tutorial explaining how to create handwritten type like this.
What you will need
- Lettering saved on a transparent .png file, or an Adobe Illustrator (.ai) file. Click here to download a suitable .ai file.
- Adobe After Effects
This animation will use Trim Paths to animate the Stroked paths.
The process
- Create a new Composition by pressing Ctrl+N (Windows) or Cmd+N (Mac), using the HDTV 1080 25 preset and making it seven seconds long.
- Create a background by choosing Layer > New > .. (pale grey in this example).
- Choose File > Import > File to import the transparent background .png Choose File > Import > File As: Footage for an .ai file. Choose Merge Layers.
- Rename Comp 1 “Signature” by selecting Comp 1, then pressing the Enter or Return
- Drag the .png or .ai file into the Layers
- Drag this image layer to the top of the
- Lock the .png/.ai and Solid
- Deselect any selected Layers
- Select the Pen tool, then draw the first part of the lettering (the S in this case).
- Use a Fill of None for this
- Name the Shape Layer; this generates “Signature Paths”:
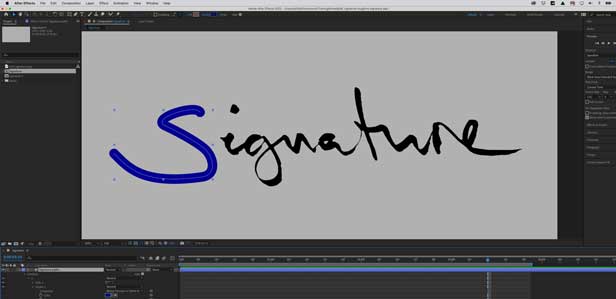
- Rename Shape 1 as “S”.
- Make the Stroke settings appropriate to your image:
Colour: Blue
Stroke: 38px
Line Cap: Round Cap
Line Join: Round Join
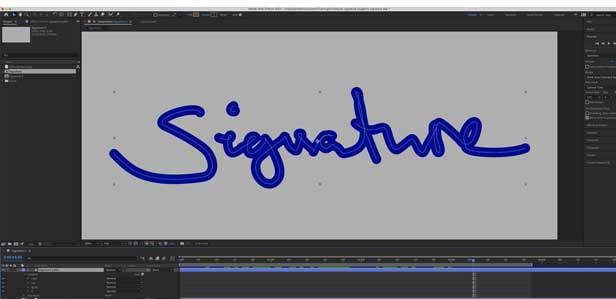
- Draw subsequent paths in order that they will appear for the rest of the lettering (Paths may have their direction reversed if the path animates in the opposite direction).
Note: Always have the Signature Paths Shape Layer selected so all paths are in this layer! - Name each of the Paths according to the handwriting sections they represent.
- Use the Add menu within the Signature Paths Layer panel to add Trim Paths to each of the handwriting.
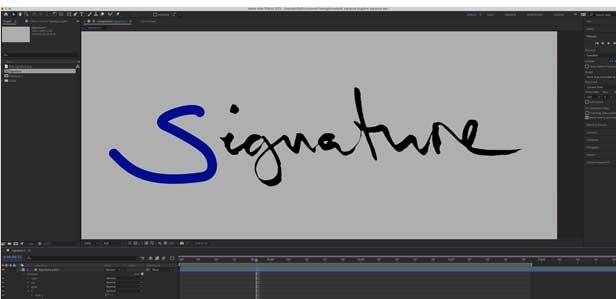
- Open the Trim Paths for the S Position the cti (playback head) at 05f Add a Keyframe for the Trim Path End as 0%.
- Position the cti at 20f and add a Keyframe for the Trim Path End as 100%.
This animates the blue stroke along the letter S:
- Repeat this procedure for each lettering shape, but adjust the Trim Paths start and finish to reveal the lettering over time:
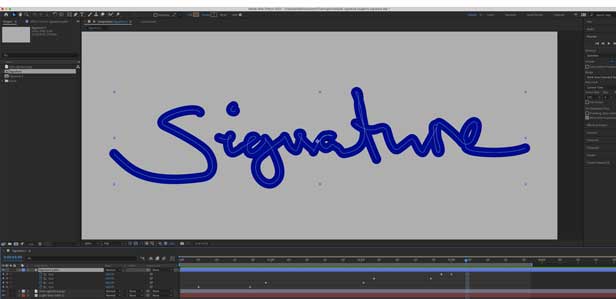
- Play the animation to see the results so far. Looking good I hope!
- Unlock the locked layers.
- Get the animated handwriting inside the image of the text by making sure that you can see the TrkMat (Track Matte) column, using Toggle Switches / Modes at the bottom left of the window if required.
- With the Signature Paths layer above the .png layer, select the .png layer.
- Choose Alpha Matte Signature Paths in the Track Matte. Adobe After Effects will use the .png as a mask (Alpha Matte) and automatically hide the Signature Paths layer:
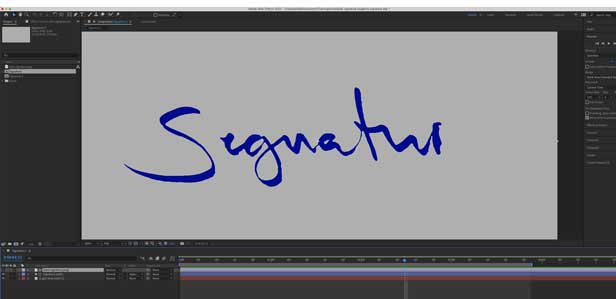
- Rewind and play the animation.
And that’s how you can make handwritten text look animated in Adobe After Effects! I hope you can make use of this in your projects.
Phil
Armada offers After Effects training to users at all levels. See Introduction to After Effects and Intermediate/Advanced After Effects.



Leave a comment